

8-day hike to Margherita peak in Rwenzori Mountains via the Bukurungu trail.
8-Day Hike to Margherita Peak in the Rwenzori Mountains via the Bukurungu Trail is an extraordinary high-altitude adventure that takes you deep into one of Africa’s most spectacular mountain ranges. Rising along the border between Uganda and the Democratic Republic of Congo, the Rwenzori Mountains are widely regarded as one of the continent’s most challenging and scenic hiking destinations. Often called the “Mountains of the Moon,” this range is famous for its dramatic landscapes, rich biodiversity, and untouched wilderness.
This 8-day journey along the Bukurungu Trail leads you through a remarkable progression of ecological zones, starting from dense tropical rainforest and bamboo forests, then moving into heather-covered slopes, and finally ascending into the alpine and glacial world near the summit. The highlight of the hike is reaching Margherita Peak (5,109m), the highest point in the Rwenzori range.
Throughout the expedition, you encounter rare plant species, diverse wildlife, and ever-changing scenery shaped by altitude and climate. The experience is further enriched by interactions with the Bakonzo people, whose culture and livelihoods are deeply connected to these mountains. Guided by experienced local teams, this hike combines physical challenge, gradual acclimatization, and immersive exploration into one unforgettable mountain adventure.
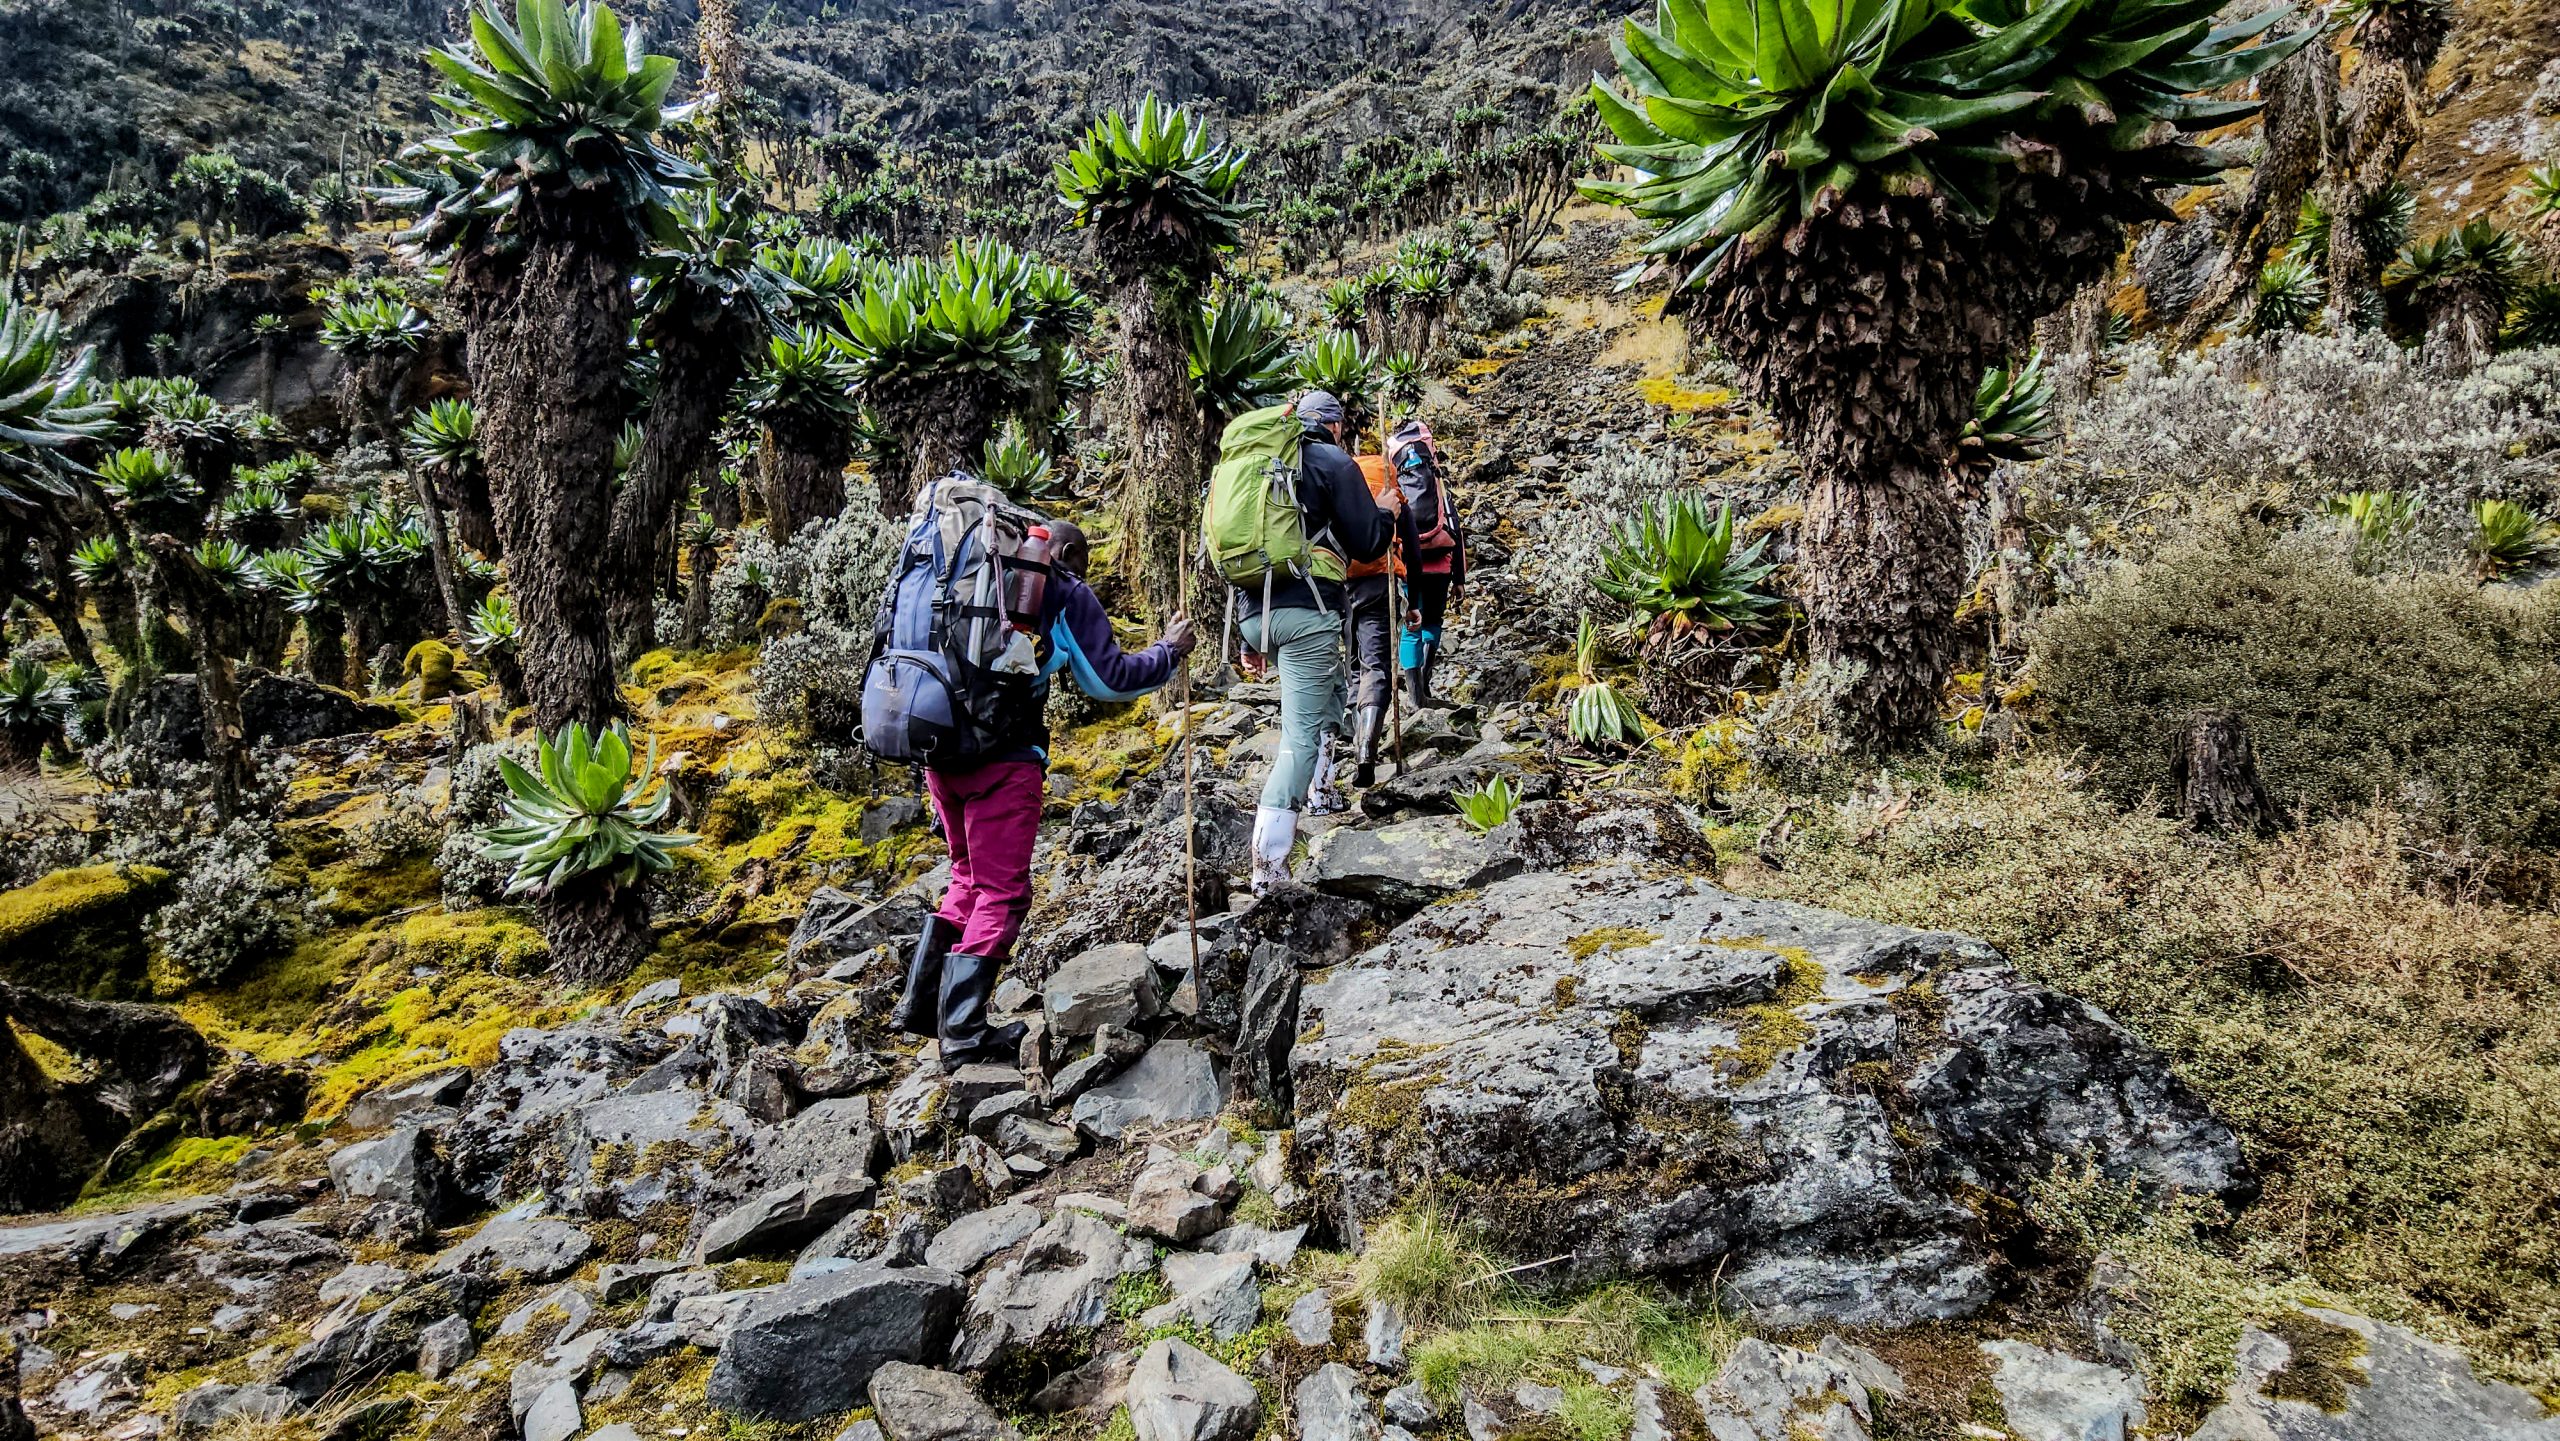 Trip overview of 8-day hike to Margherita peak in Rwenzori Mountains via the Bukurungu trail.
- Day 1: Transfer to Amundsen Camp (2210m)
- Day 2: Hike to Kambeho Camp (3700m) via Rwigho Camp (3300m)
- Day 3: Hike to Mughuli Camp
- Day 4: Hike to Bigo Hut via Lamia Camp (4091m)
- Day 5: Hike to Irene Lakes Camp (4495m)
- Day 6: Summit Margherita Peak (5109m) and Descend to Bujuku Camp
- Day 7: Descend from Bujuku Camp to Nyabitaba Camp
- Day 8: Nyabitaba Camp to Nyakalengija (2650m) and Departure
Detailed itinerary of 8-day hike to Margherita peak in Rwenzori Mountains via the Bukurungu trail.
Day 1: Transfer to Amundsen Camp (2210m)
After a long journey the previous day, you begin your morning at a relaxed pace, waking up around 7:00 AM for breakfast. Following this, you travel to Kasese town where you meet your guides at the Rwenzori Ranges Hikers Association office. Here, your equipment is checked thoroughly to ensure everything is suitable for the hike ahead. This preparation stage is essential, as it allows you to confirm that all technical and personal gear is in order before entering the mountains.
From Kasese, you proceed to Mukorokimi, the starting point of your hike. It is here that you meet the porters who will assist in carrying supplies throughout the expedition. The hike begins with a gentle walk through cultivated land, including coffee farms, local homes, and small schools. Along the way, you interact with members of the Bakonzo community, gaining insight into their daily lives.
The trail is relatively easy and scenic, taking approximately 2–3 hours. By late afternoon, you arrive at Amundsen Community Camp, located at the edge of the national park. This first night allows you to settle in and prepare for the more demanding days ahead.
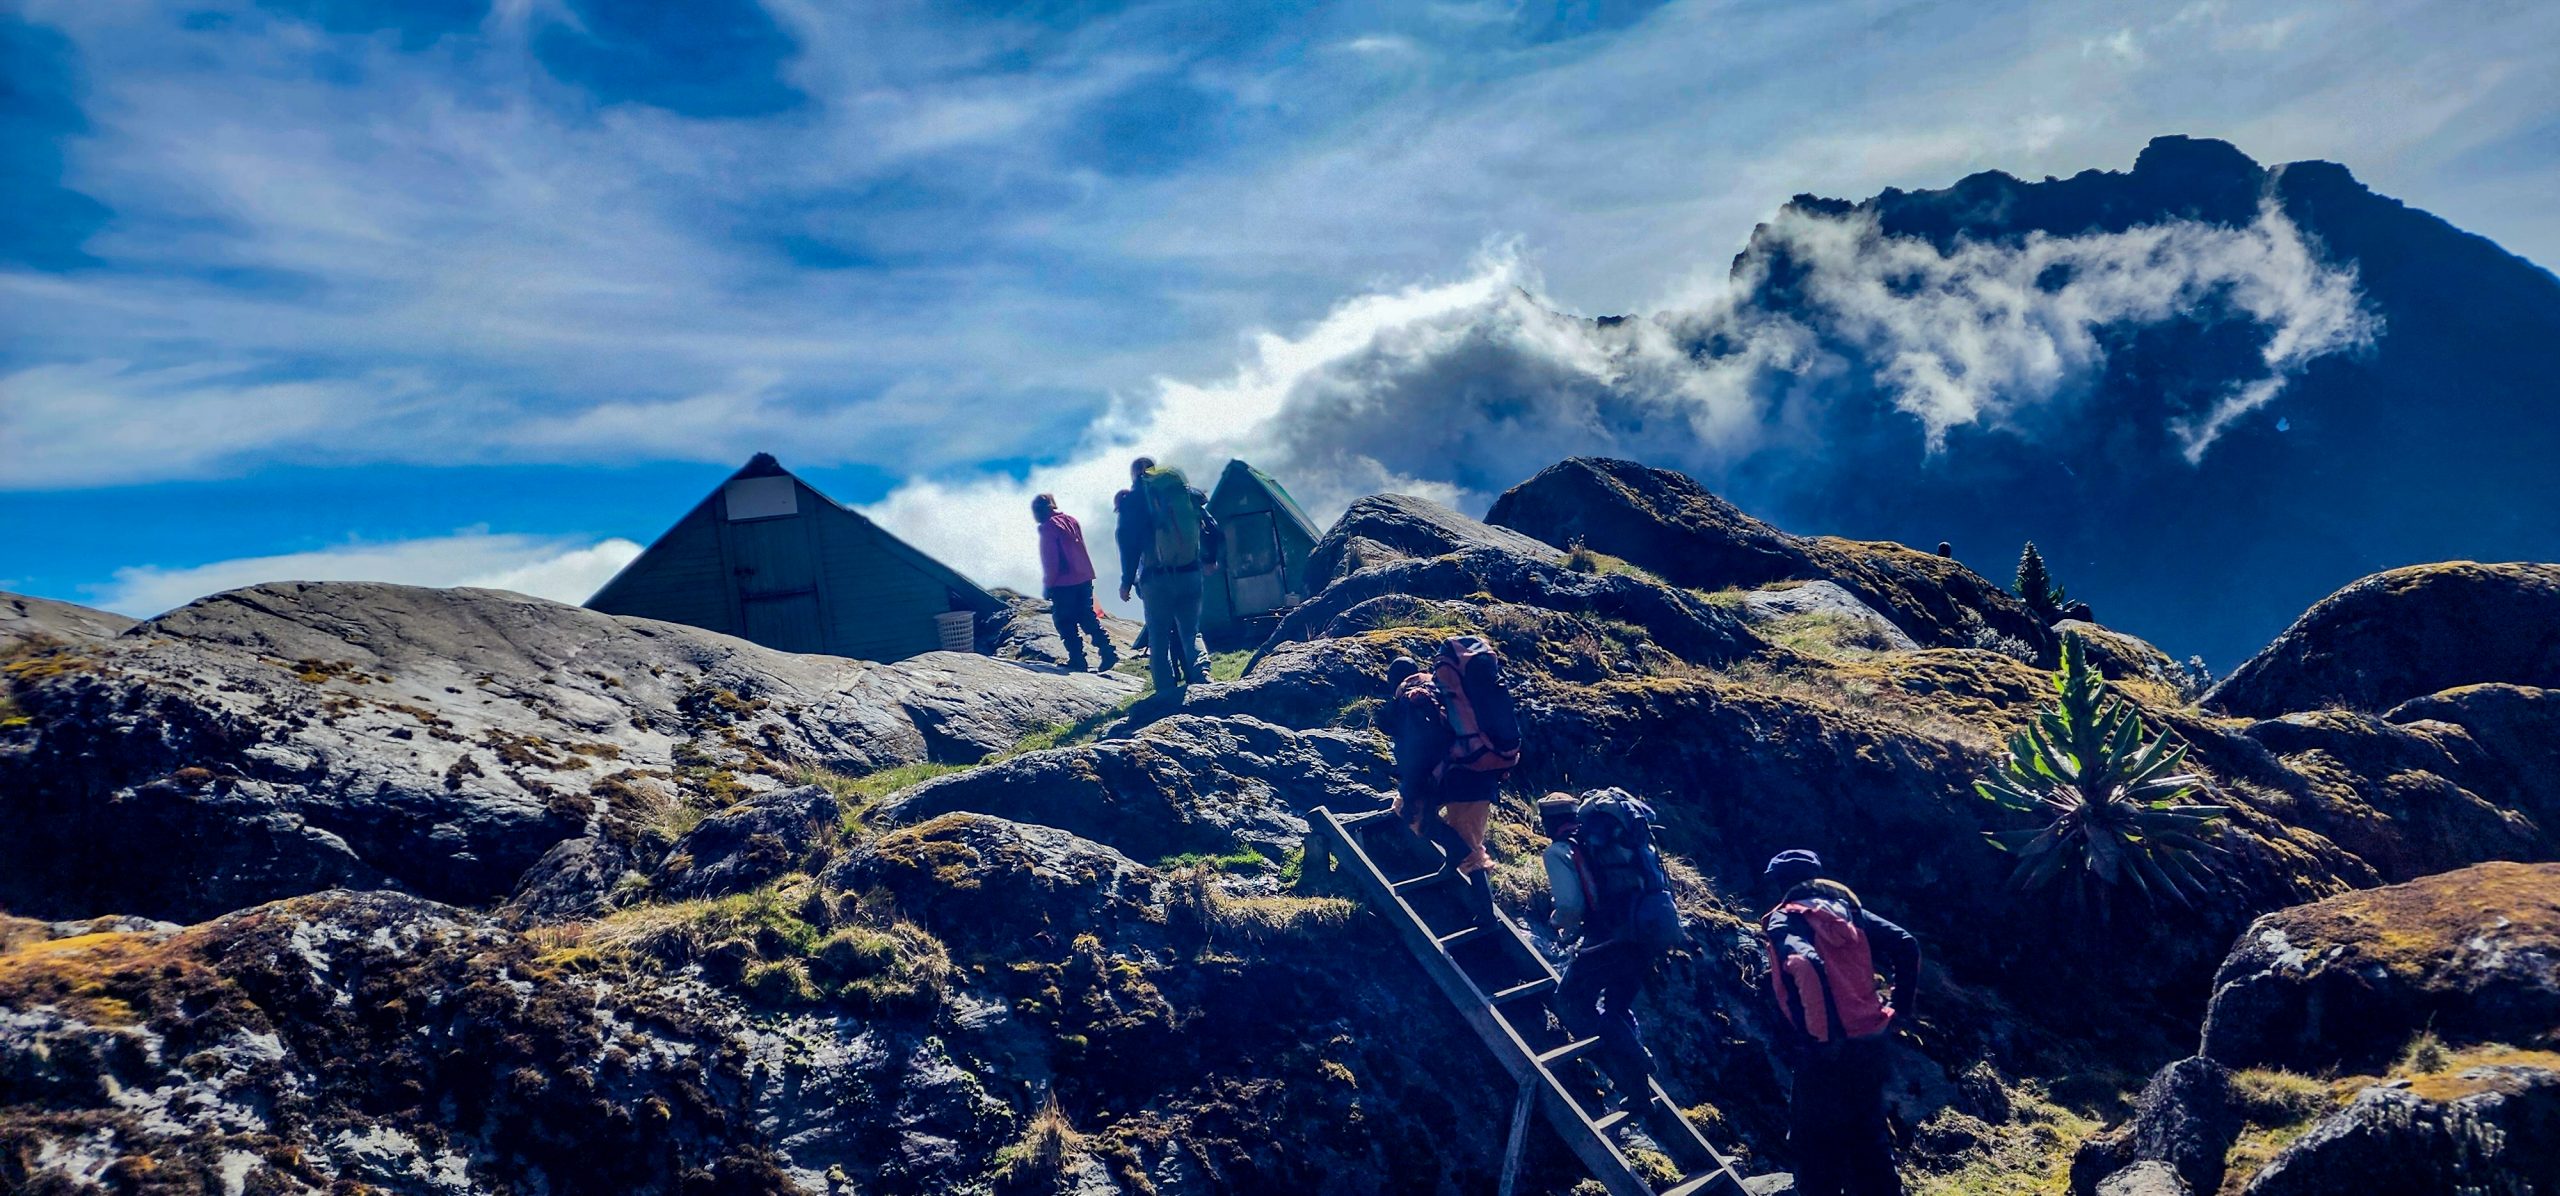 Day 2: Hike to Kambeho Camp (3700m) via Rwigho Camp (3300m)
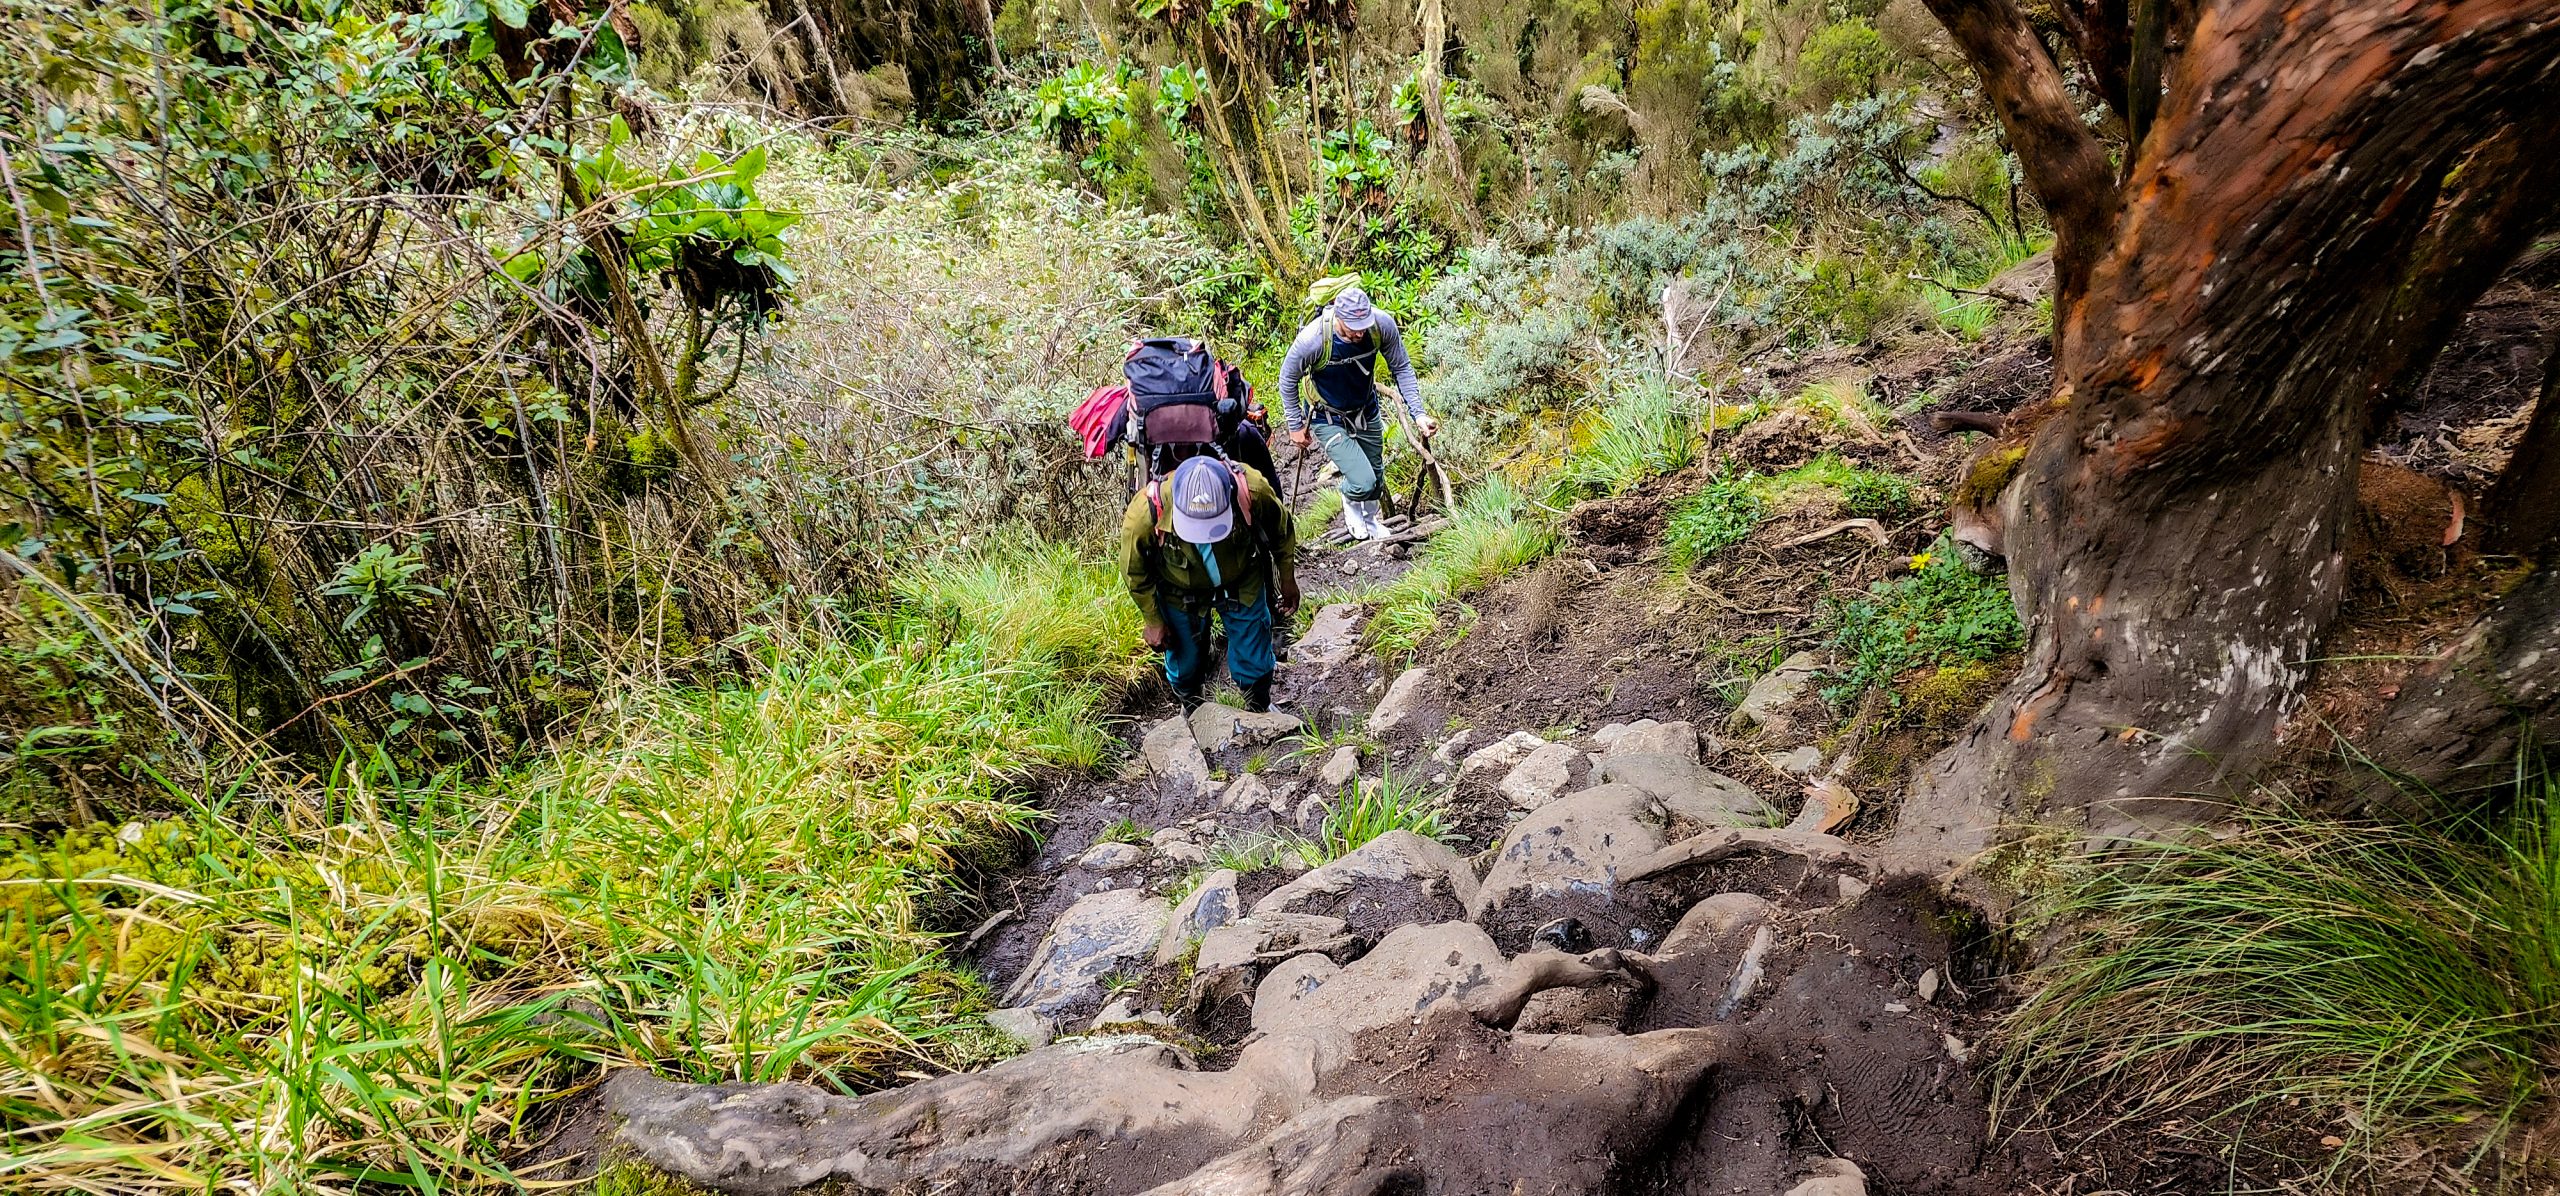
Following an early breakfast, the hike begins with a steady climb along a ridge that provides impressive views of the Kasuka and Isule valleys. The trail leads to Kebitakuli, a natural resting point where you can pause, catch your breath, and enjoy the surrounding scenery. From here, the path continues into dense montane forest, gradually transitioning into bamboo zones.
As you hike, you may encounter a variety of plant species such as Disa stairsii and Impatiens apiculata, as well as signs of wildlife including chimpanzee nests and droppings. The sounds of black-and-white colobus monkeys and the distinctive call of the Rwenzori Turaco often echo through the forest. After about 5–6 hours, you reach Rwigho Camp, where some hikers may choose to rest overnight.
For those continuing onward, the trail becomes more demanding, climbing through heather vegetation covered in hanging moss. This zone is characterized by giant heathers, lobelias, and other alpine flora. The additional 4-hour hike leads to Kambeho Camp, where you spend the night after a long but rewarding day.
Day 3: Hike to Mughuli Camp
The day begins with a challenging ascent along the Lhume River. Starting early ensures you tackle the steep Mughuli bypass while still energized. This section requires determination, as it is one of the more physically demanding parts of the hike. However, the effort is rewarded with stunning views and unique landscapes.
As you progress, you approach Lake Mughuli, a serene location that offers a rare opportunity for phone network coverage, allowing you to briefly reconnect with friends or family. The area around the lake is incredibly scenic, with lush vegetation and peaceful surroundings that make it an ideal place to rest and take in the environment.
Wildlife sightings may include Rwenzori red duikers, hyraxes, and wild pigs. Near the camp, you can explore waterfalls and nearby peaks if time and energy allow. The journey from Kambeho to Mughuli takes approximately 6–7 hours, including a stop at Mulhalhama viewpoint. By evening, you arrive at Mughuli Camp, where you settle in for the night surrounded by the beauty of the mountains.
Day 4: Hike to Bigo Hut via Lamia Camp (4091m)
This day takes you into one of the most scenic sections of the Rwenzori Mountains. Lamia Camp is positioned between Portal Peaks and Mount Gessi, offering panoramic views that make it a highlight of the hike. It serves as an excellent acclimatization point and a base for those interested in exploring nearby peaks.
From Lamia, you continue toward Bigo Hut on a trail that takes approximately 5–7 hours. The route gradually ascends from bamboo and heather zones into a more alpine environment. Along the way, you encounter muddy and boggy sections, often supported by wooden walkways to ease passage.
Vegetation becomes more sparse as altitude increases, with giant heathers, lobelias, and groundsels dominating the landscape. The air grows cooler and thinner, requiring a slower pace to allow your body to adjust. As you approach Bigo Hut, the terrain opens into wide valleys with breathtaking mountain views. Though physically demanding, this stage is crucial for acclimatization and prepares you for higher elevations ahead.
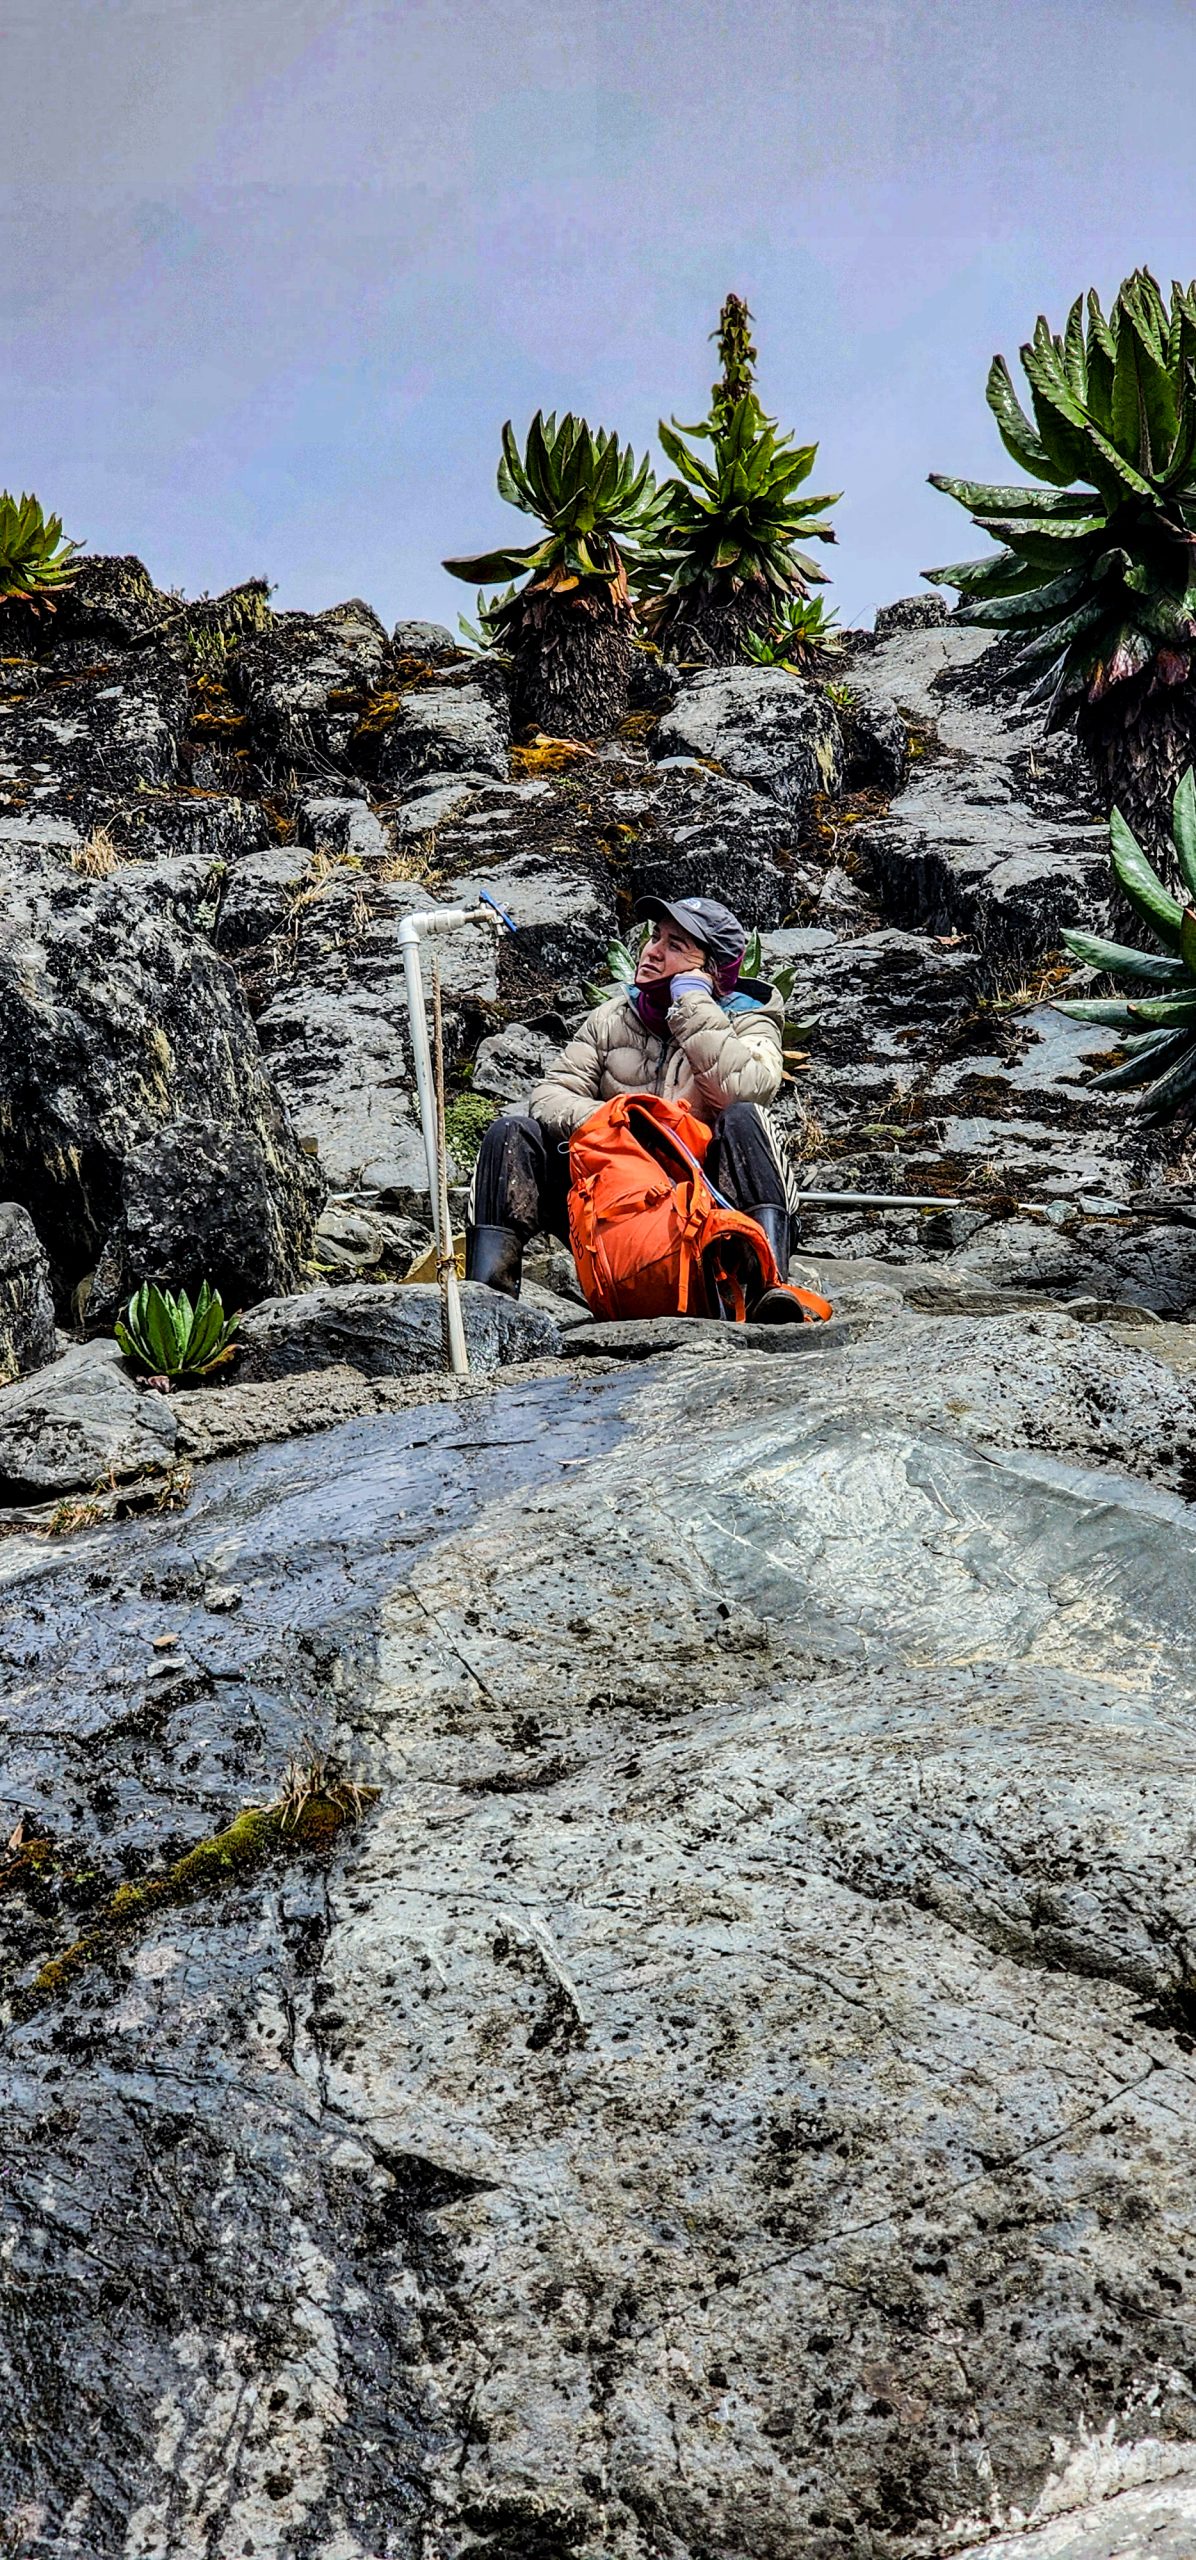 Day 5: Hike to Irene Lakes Camp (4495m)
After an early morning coffee, you set off toward Irene Lakes Camp. The trail passes through a picturesque valley filled with towering lobelias, heather trees, and waterfalls that cascade down the mountainsides. The scenery is both dramatic and calming, offering numerous opportunities for photography.
You eventually reach Lake Bujuku, which collects water from the glaciers of Mount Stanley, Mount Speke, and Mount Baker. Walking alongside the lake provides stunning reflections of the surrounding peaks, creating a truly memorable experience.
From Lake Bujuku, the trail continues for about 1.5 hours to Irene Lakes Camp. This camp serves as the main base for the summit attempt on Margherita Peak. The higher altitude requires careful pacing and hydration, as your body continues to adapt to thinner air.
By the time you arrive, you prepare for the upcoming summit climb by resting, organizing gear, and receiving guidance from your hiking team. The night here is crucial for recovery and mental preparation.
Day 6: Summit Margherita Peak (5109m) and Descend to Bujuku Camp
This is the most demanding and rewarding day of the expedition. You wake up between 3:00 AM and 4:30 AM for a quick breakfast before beginning the ascent under the cover of darkness. Headlamps guide your way as you move across rocky and icy terrain toward the summit.
The climb involves navigating glaciers and steep sections, requiring the use of technical equipment such as crampons and ropes. Progress may feel slow due to altitude, cold temperatures, and occasional fog. However, persistence leads you to Margherita Peak, the highest point in the Rwenzori range.
On a clear day, the summit offers spectacular views of surrounding peaks such as Mount Speke and Mount Baker, as well as distant landscapes stretching into the Democratic Republic of Congo. After celebrating your achievement and taking photos, you begin the descent.
The return journey to Bujuku Camp is physically taxing but essential for recovery. By evening, you arrive at camp for rest after an unforgettable summit experience.
Day 7: Descend from Bujuku Camp to Nyabitaba Camp
After breakfast, you begin the descent through valleys and diverse vegetation zones. The trail passes through John Matte Camp and continues toward Nyamuleju Rest Shelter, where you pause briefly to rest and enjoy the tranquil surroundings.
The route then leads to the Kurt Shafer Bridge, a notable landmark located at the meeting point of the Mubuku and Bujuku rivers. This section is scenic and provides a different perspective of the landscape compared to the ascent.
As you continue downward, the environment gradually shifts back to lush vegetation with moss-covered rocks and dense forest. The hike takes approximately 6–7 hours, requiring careful footing on sometimes slippery paths.
By late afternoon, you reach Nyabitaba Camp. After settling in, you enjoy dinner and reflect on the journey so far. This marks your final night in the mountains.
Day 8: Nyabitaba Camp to Nyakalengija (2650m) and Departure
On the final day, you descend through the afro-montane forest toward Mihunga Park Gate. The trail takes about 3–4 hours and offers one last opportunity to enjoy the rich biodiversity of the Rwenzori Mountains.
Wildlife sightings may include three-horned chameleons, colobus monkeys, blue monkeys, and a variety of bird species such as sunbirds and turacos. The forest is also home to numerous butterflies, adding color to the final stretch of the hike.
Upon reaching Mihunga Gate, you complete your 8-day adventure. From here, arrangements are made for your onward journey, marking the end of an incredible hiking experience through one of Africa’s most unique mountain ranges.
End of 8 days Rwenzori hike via Bukurungu trail with Margherita peak.
Price includes:
- Hiking fees in the Bukurungu trail
- Park entrance
- Trained guides
- Porters in Rwenzori mountains
- Meals
- Wages
- Rescue
- Government tax
- Camping gear and handling
Price Excludes
- Technical hiking gears like crampons, ropes, harness, ice axe, helmet plus also rubber boots
- You can hire equipment at Bukurungu trail stores ( ice axe-$15, climbing rope-$25), harness-$25, climbing boot-$25, crampons-$25, gloves-$7, sleeping mat-$7, rubber boot-$7)
- Each extra peak that is charge USD150 each
- Accommodation before the hike
- Transportation to Kasese.
- Tips
- Porters during gorilla hiking
- Air ticket
- Personal hiking gears
- Other items of personal nature
- Other personal expenses not included in the package.
- VISA: You all need a visa to enter Uganda application is done online https://visas.immigration.go.ug/
- Vaccine: Yellow fever is still required. Make sure you are up to date needed at Entebbe International Airport.
Rwenzori Mountains Packing Guide.
Hiking in the Rwenzori Mountains is unlike most other hikes in Africa. You will pass through multiple ecological zones, starting in humid rainforest, moving through bamboo and heather vegetation, and finally reaching cold alpine and glacial environments. Because of these rapid changes in altitude, weather, and terrain, every item you carry plays an important role in your safety, comfort, and success on the hike.
Below is a detailed explanation of the essential equipment and why each item is necessary.
Technical Hiking Gear
Climbing Rope
Higher sections of the mountain, especially near the summit of Margherita Peak, include steep rock faces and icy passages. Surfaces are often wet and slippery due to constant moisture. A rope is used by guides to secure climbers in exposed areas and during glacier crossings, helping prevent dangerous falls and providing additional confidence on difficult terrain.
Crampons
The upper slopes contain permanent snow and ice, which can become extremely hard in the early morning. Crampons attach to your boots and provide grip on frozen surfaces, allowing you to move safely without slipping. They are essential for both ascending and descending icy sections.
Ice Axe
An ice axe serves as both a support tool and a safety device. It helps maintain balance on steep slopes and is used to stop a fall if you slip on ice. On the Rwenzori glaciers, this tool is critical for safe movement.
Climbing Harness
A harness allows you to be securely connected to a rope system. It distributes weight evenly and ensures safety when crossing exposed areas or navigating steep sections under the supervision of guides.
Helmet
Loose rocks and falling ice can pose a risk in certain sections of the mountain. A helmet protects your head from injury, especially in narrow or steep areas where debris may fall.
Clothing and Personal Wear
Hiking/Climbing Boots
Footwear must be waterproof, durable, and supportive. Trails in the lower zones are muddy and wet, while upper sections are cold and icy. Proper boots also allow secure attachment of crampons and provide ankle stability on uneven terrain.
Water-Resistant Hiking Trousers
Durable trousers protect your legs from mud, rain, insects, and scratches from vegetation. Quick-drying or waterproof materials are ideal due to frequent rainfall.
Lightweight Shirts
Breathable shirts are suitable for the warmer, humid lower zones. They help regulate body temperature and keep you comfortable during long hiking hours.
Warm Jacket or Fleece Layer
Temperatures drop significantly as you climb higher. A well-insulated jacket is essential to keep you warm during cold evenings, early mornings, and summit attempts.
Waterproof Gloves
Your hands will be exposed to rain, wind, and cold conditions. Waterproof gloves help maintain warmth and ensure a good grip when handling equipment like ropes or ice axes.
Headlamp with Spare Batteries
Summit day begins before sunrise, making a reliable light source essential. Cold weather can drain batteries quickly, so carrying extras ensures you are not left in the dark.
Daypack (Backpack)
You will need a comfortable backpack to carry daily essentials such as water, snacks, rain gear, and personal items. It should be lightweight and preferably waterproof.
Sun Hat
Even at high altitudes, the sun can be strong when skies are clear. A hat protects your face and head from direct sunlight and reduces fatigue.
Small Towels or Handkerchiefs
Useful for maintaining personal hygiene, wiping sweat, and drying off during the hike.
Sunglasses (UV Protection)
Snow and ice reflect sunlight intensely at higher elevations. Good sunglasses protect your eyes from glare and prevent conditions like snow blindness.
Gaiters
These are worn over your boots to prevent mud, water, and debris from entering. They are especially useful in swampy and muddy sections.
Trekking Poles
Poles improve balance on uneven and slippery terrain. They also reduce strain on your knees during long descents and help test the depth of muddy sections.
Rain Gear (Jacket and Trousers)
Rain is frequent and unpredictable. Waterproof outer layers keep you dry and protect against cold winds, helping maintain body temperature.
Wool Socks
Thick socks keep your feet warm even when damp and help prevent blisters during long hikes.
Camp Wear (Light Clothing and Shoes)
After hiking, it’s important to change into dry, comfortable clothing. Lightweight shoes or sandals allow your feet to rest and recover.
 Sleeping and Camping Gear
Sleeping Bag (Cold Rated)
Temperatures at high camps can drop below freezing. A good-quality sleeping bag designed for cold conditions ensures warmth and proper rest.
Sleeping Mat
Provides insulation from the cold ground and adds comfort for better sleep.
Rubber Boots (Provided)
In lower sections of the mountain, trails are often flooded or extremely muddy. Rubber boots are practical for these areas and help keep your feet dry before switching to hiking boots at higher elevations.
Health, Safety, and Personal Essentials
Medications
It is advisable to carry basic medications such as an inhaler for breathing difficulties and antibiotics for common travel illnesses. Always consult a doctor before your trip.
Sunscreen and Lip Balm
High-altitude sun exposure can be intense. Use sunscreen with SPF 35 or higher and lip balm to protect your skin.
Water Bottles and Hydration System
Carry at least 1–2 liters of water. Hydration systems like CamelBak can make drinking easier while walking.
Thermos (Optional)
Useful for keeping drinks warm in cold conditions, especially at higher camps.
Hand Warmers
Helpful during the summit push when temperatures are very low.
Personal Hygiene Items
Include soap, a small towel, and wet wipes to maintain cleanliness during the hike.
Bags and Storage
Duffel Bag (For Porters)
A strong, large bag is used to carry your main gear, which porters will transport.
Daypack
Used for items you need quick access to during the hike.
Optional Items
- Entertainment items such as a book or music player
- Camera with extra batteries and memory cards
- Earplugs for windy or noisy nights
- Energy snacks (avoid sticky sweets like caramel)
- Warm hat, balaclava, or fleece cap